Terry here to bring you this week's Saturday "StepxStep" and I am
still in the Halloween spirit as you can see!
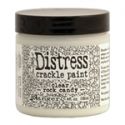
I have been playing quite a bit with the new Metallic Stains and I just
love them and especially with Rocky Candy Crackle!
OK, so here we go!
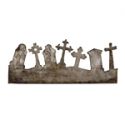
I first started with a GIANT black tag, did a score line at 2 inches from
the bottom.
Cut the grunge paper 2 x 5
1/2 inches (what little hangs over will be trimmed at the end).
Both the tag edge and grunge paper are now
ready to be cut using the "Graveyard" on the edge.
I will tape done my paper pieces to assure no
movement and I also like to place a piece of waxed paper between the die and
item I am cutting.
This assures easy
lift off!!!
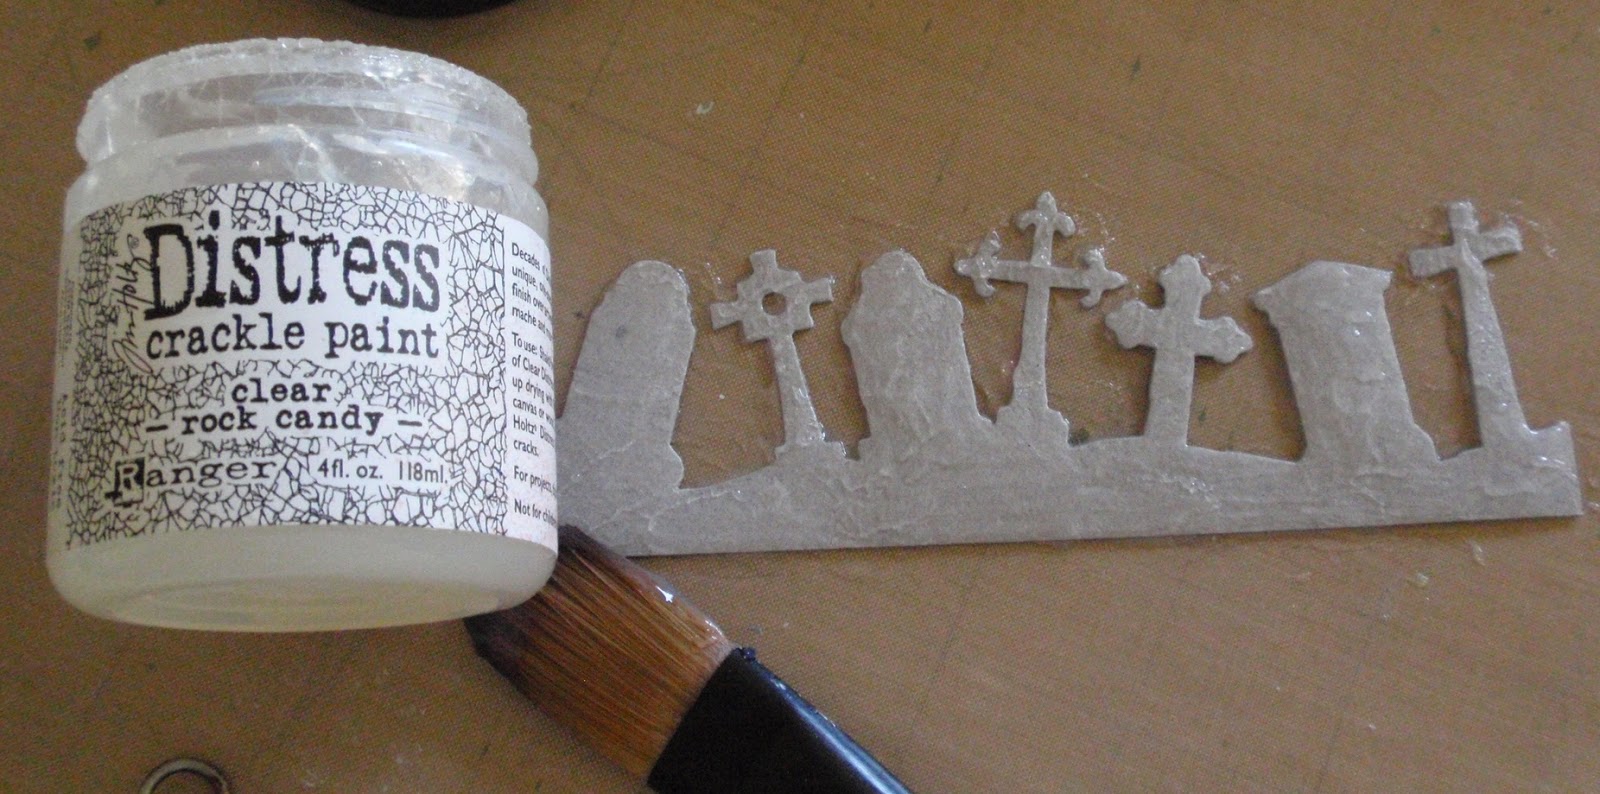
Next step is to apply the Rocky Candy Crackle to the grunge paper and I like
to also add a few globs for a more ghostly effect.
Let dry and then begin the staining.
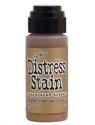
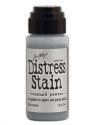
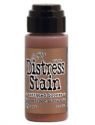
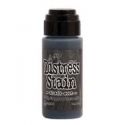
I used all three colors of the Metallic
Stains for variation.
To keep colors
separate, you can use a piece of paper and wedge it between the areas.
When all the tombstones are covered in color,
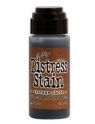
I then stain the lower edge with Vintage Photo stain and will work that up into
the tombstones to blend.
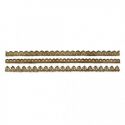
Next I cut the trim and
randomly
applied the Metallic Stains leaving some black areas to show through.
Once
dried I applied two coats of clear embossing ink and powder.
The bottle was painted with Rock Candy
Crackle and inked over with the Metallic Stains.
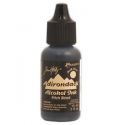
I added Black Soot Alcohol Ink to color the
inside.
The bottle was covered with
Clear Embossing Ink and Powder.
Stamped
the label with Black Archival and clear embossed.
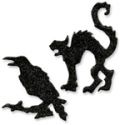
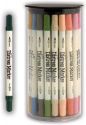
My grunge Umbrella Guy was colored with
Distress Markers (Brushed Corduroy, Spiced Marmalade, Black, Antique Linen,
Walnut Stain), the Cat was inked with Black Soot stain.
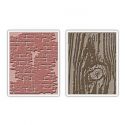
For the brick pathway, I ran a white craft ink pad over the grout areas (as
I wanted this recessed) and embossed on black card stock, applied clear
embossing powder and heat set.
The next
step was to swipe the clear embossing ink pad over the raised brick areas and
then I applied a mix of Vintage Photo and Fired Brick Distress Embossing
powder, heat set and then rubbed off the excess.
For the tag background, I did some clear embossing before and after doing
the inky background.
This just depends
on what you want to show through more.
I
wanted the skulls to be very faint, so I clear embossed after inking.
For the inking background, I applied the
three Metallic Stains to my craft sheet and applied to the background with a
wet paint brush.
I sprayed some water
over the tag and blended with the wet brush.
You can keep doing this to your liking!
My background came out a little more striped then I preferred, but did
not actually notice that until I was all finished!!
Once that was all done and dried, I placed
the tag between plain newsprint and removed with a heated iron (no steam).
The final step was to put this all together. Love those loose bones!! Thank you so much for visiting us today and have a wonderful and hopefully crafty weekend!